Drywall, or gypsum board or plasterboard, is a common building material used in homes and commercial spaces. While it’s pretty durable, accidents happen, and over time, cracks, holes, and dents can mar the smooth surface of your walls.
Common drywall issues include:
- Small holes and dents caused by accidental impacts, nail or screw holes, or furniture moving
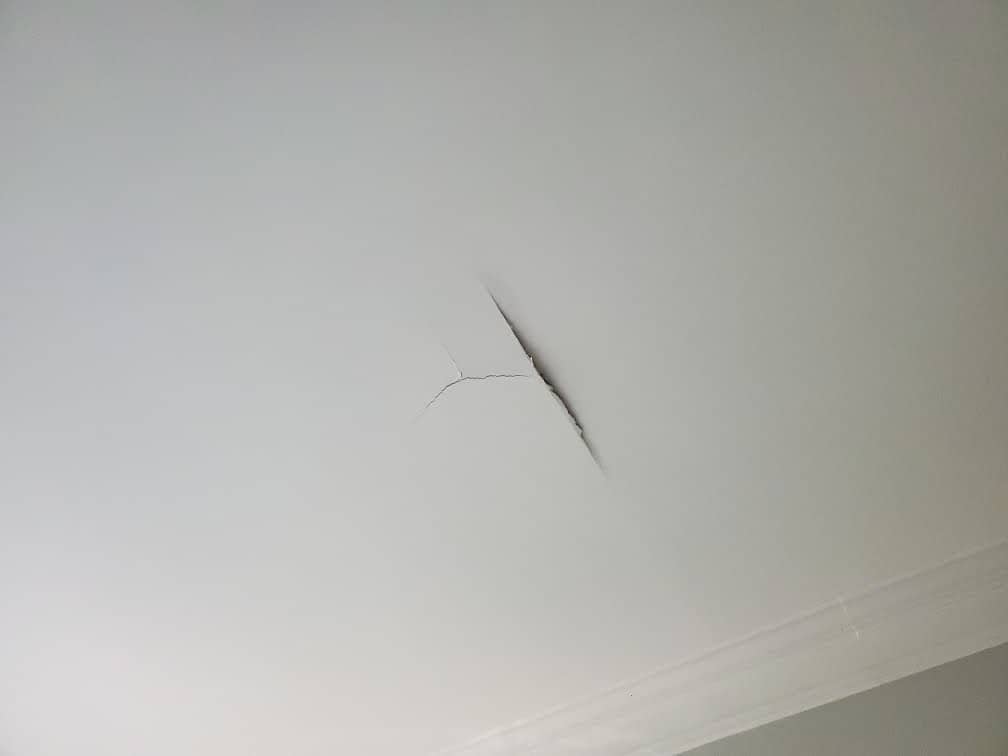
- Cracks resulting from settling, temperature fluctuations, or structural movement
- Large holes typically caused by doorknobs, water damage, or more significant impacts
Tools used to repair drywall include:
- Drop cloths to protect the floor and nearby items from accumulating drywall dust
- Personal protective equipment like a respirator or dust mask and eye protection
- A utility knife or drywall saw for cutting away damaged areas
- For repairs too extensive for mesh tape
- A piece of new gypsum board. 2’ x 2’ and 4’ x 8’ and larger sheets can be found at your local retailer. Drywall is commonly available in 1/2-inch, 5/8-inch, and 3/8-inch widths. The different widths are used for different requirements and locations. While 1/2 inch is very common, if you need to purchase a piece, always measure your existing thickness to be sure.
- 1’x2’ furring strips
- Drywall screws
- Joint compound to fill holes and cracks
- Mesh tape to reinforce joints and seams
- Putty and drywall knives for spreading joint compound smoothly
- Medium and fine grain sanding block or sandpaper to smooth patched areas
- Primer to ensure a consistent finish
- Paint to match the wall color and texture of the wall
Repairing drywall is relatively straightforward, but achieving a seamless finish requires practice and patience. Additionally, it’s essential to take safety precautions such as wearing personal protective equipment such as a respirator or dust mask to prevent inhaling dust from the sanding process and safety glasses to prevent dust from getting into the eyes. Additionally, caution is always needed when handling sharp tools such as utility knives and drywall saws. I always keep a first-aid kit with me, just in case.
Now, on to the repair process!
First, the area to be repaired is prepared by removing any loose or damaged drywall around the affected area with a utility knife, and, for holes, the edges are cleaned to ensure they are free of loose paper and debris.
A thin layer of joint compound is applied with a putty knife for small holes and dents. The edges are feathered to create a smooth transition to the surrounding wall. When the joint compound is dry, it is lightly sanded smooth to the surface. Then, a second, slightly wider layer of joint compound is applied, feathering the edges again and sanding it for a seamless finish.
Repairing Cracks
For cracks, a utility knife is used to widen the crack slightly, creating a V-shaped groove. A thin layer of joint compound is applied to the groove. Once the first layer of joint compound is dry, a second layer is applied, feathering the edges, and once dry, the area is sanded to achieve a smooth finish.
Repairing Larger Holes
For larger holes, a piece of mesh tape is applied over the hole to reinforce it. Then, a layer of joint compound is used, pressing it through the mesh tape to ensure it adheres. Once dry, additional layers of compound are added until the patch is level with the surrounding wall. Finally, the area is sanded to create a smooth surface.
Repairing Larger Damaged Areas
For larger areas of damage where mesh tape is insufficient, a new piece of drywall is cut to replace the damaged area. It can be attached using 1’x2’ furring strips secured to the inside of the existing drywall, with approximately 1/2” overhang for the new drywall to abut against. Secure with drywall screws and apply mesh tape over the seams, followed by a layer of joint compound, pressing it through the mesh tape to ensure it adheres. Once dry, additional compound layers are added until the patch is level with the surrounding wall. Finally, the area is sanded to create a smooth surface.
Now that the “dusty part” is done, it’s time to prime and paint! After the compound has dried and been sanded, apply a coat of primer to the patched area. This helps ensure an even finish. Once the primer is dry, paint the patched area to match the surrounding wall. Be sure to use the same paint (color and sheen) and technique on the rest of the wall.
Note that if you do not have paint handy for the wall, cut a small piece (1/2” x 1/2”) of the top layer of the existing wall from the area you are going to repair which has the existing paint on it and take it to your local home improvement store to perform a custom color paint match. They can also advise on paint sheen. I’ve had great success with this!
Why Hire a Handyman for Drywall Repair?
Hiring a local handyperson to repair drywall can be a practical and cost-effective choice for various reasons, depending on your situation and needs. Why hire Crafty Canuck Handyman Service to repair your drywall?
Professional Expertise: Crafty Canuck Handyman is an experienced professional specializing in a wide range of home repair and maintenance tasks and possesses the skills and knowledge required to perform high-quality drywall repairs and expertise to ensure that the job is done correctly and efficiently.
Time Saver: Repairing drywall can be time-consuming, especially if you lack experience. A handyperson can complete the job more quickly, allowing you to focus on other priorities. This is particularly beneficial for individuals with busy schedules or needing repairs done promptly.
Quality Workmanship: Crafty Canuck Handyman Service has the necessary tools and materials to achieve a professional drywall repair finish and can provide a smooth, seamless repair that blends with the existing wall, ensuring that the repaired area looks as good as new. This quality craft is often challenging for DIY enthusiasts to achieve without experience.
Cost-Effective: While hiring a handyperson comes with a fee, it can be cost-effective in the long run. Making mistakes during a DIY drywall repair can lead to additional expenses for materials, tools, and potentially professional repairs to fix any errors. A handyman’s expertise can prevent costly mistakes.
Avoiding Hassle: Drywall repair can be messy and require a lot of preparation and cleanup. A handyperson will handle all the necessary steps, from protecting your furniture and floors to cleaning up after the job. This saves you the hassle of dealing with the mess.
Flexibility: The Crafty Canuck Handyman is a versatile professional who can often handle multiple tasks in one visit. If you have other home repair or maintenance projects that need attention, they can be addressed during the same visit, saving you time and effort.
Access to Tools and Materials: The Crafty Canuck Handyman has access to the right tools, materials, and equipment, ensuring that the repair is done efficiently and with the right resources. You won’t have to invest in tools you may only use for this specific job.
Insured: The Crafty Canuck Handyman is insured, which provides added security and peace of mind. Insurance can cover any potential damages or liabilities in the rare event that something goes wrong during the repair.
Guaranteed Work: The Crafty Canuck Handyman stands behind their work which means that if an issue arises after the repair, it will be addressed without additional charges.
Safety: Drywall repair may involve ladders, heavy tools, and handling materials. Crafty Canuck Handyman Service is well-versed in safety practices, and by hiring us, we minimize the risk of DIY accidents or injuries during the repair process.
In conclusion, while DIY drywall repair is possible for some individuals, hiring Crafty Canuck Handyman Service can provide numerous advantages in quality, time savings, cost-effectiveness, and peace of mind. It’s a wise choice for those who want professional results and value their time and convenience.