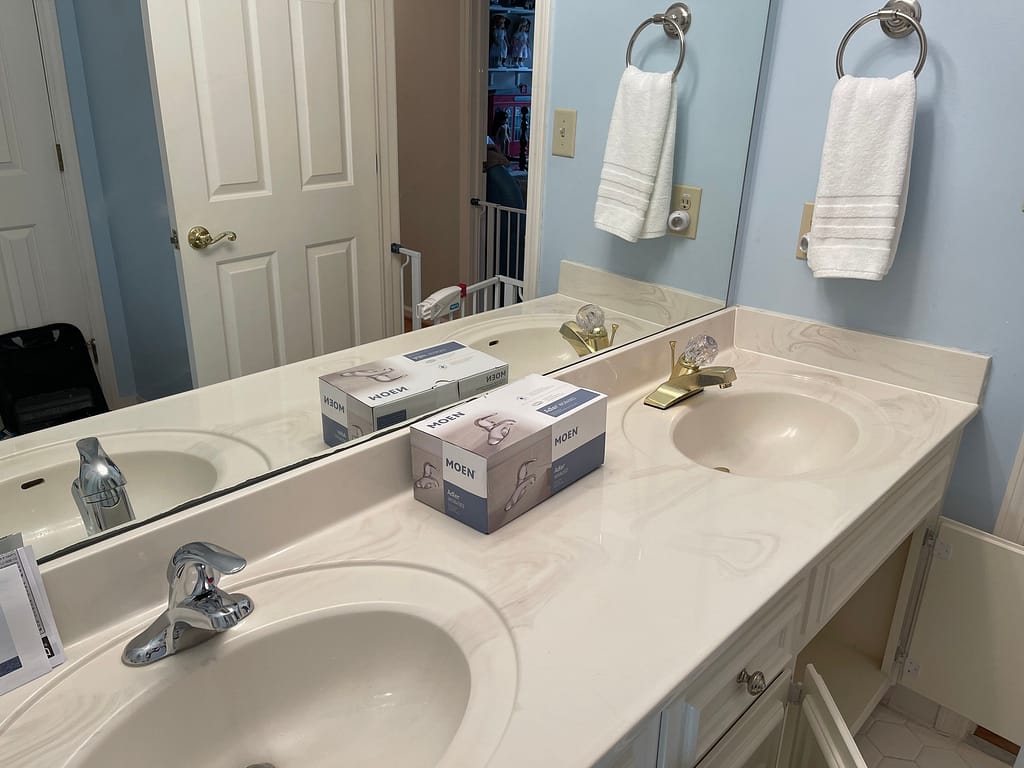
A faucet is not only a functional element but also a crucial design feature that can enhance the aesthetics of your kitchen or bathroom. Over time, faucets may wear out or become outdated, prompting the need for replacement. Whether you’re upgrading for style or fixing a leak, replacing a faucet is a manageable DIY project with the right tools and steps. This comprehensive guide walks you through the process of replacing a faucet step by step.
Step 1: Gather Tools & Materials
Before diving into the replacement process, having all the necessary tools and materials is essential. Here’s a list to get you started:
- New faucet
- Adjustable wrench, basin wrench, and/or pipe wrench
- Plumber’s putty or silicone caulk
- Bucket and towels
- Teflon tape
- Screwdrivers (Phillips and flathead)
Step 2: Turn Off the Water Supply
Safety is always the #1 priority when working on any project. Start by turning off the water supply to the faucet – both hot and cold. Locate the shut-off valves under the sink and turn them clockwise until they are fully closed. If there are no shut-off valves, you may need to turn off the main water supply to your house.
Step 3: Drain the Faucet and Disconnect the Water Supply Lines
Drain the remaining water inside the faucet before removing the old faucet by turning it on to let any water flow out.
Disconnect the water supply lines, one at a time, by first placing a bucket beneath the shutoff valve (to catch any water when you disconnect the pipes from the valve that may be in the line between the shutoff valve and the fixture) and then either using the appropriately sized wrench or an adjustable wrench, disconnect each water supply lines from the shut-off valves. If the supply lines are old or damaged, now is an excellent time to replace them with new flexible braided lines.
Step 4. Remove the Old Faucet
Now that the water supply lines are disconnected, you can remove the old faucet. Depending on the type of faucet, you may need to use a basin wrench, an adjustable wrench, or a combination of both. Follow these general steps:
- Under the sink, locate and unscrew the nuts holding the faucet in place.
- If there’s a pop-up drain assembly for bathroom sinks, disconnect the rod by loosening the retaining nut and removing the drain body from the sink drain hole.
- Lift the old faucet out of the sink.
Step 5. Clean the Area
With the old faucet removed, take the opportunity to clean the area around the sink. Remove any old plumber’s putty or caulk using a putty knife or a scraper, taking care not to scratch the counter surface. Ensure the surface is smooth and dry before proceeding.
Step 6: Install the New Faucet
Before installing the new faucet, read the manufacturer’s instructions thoroughly. Different faucets may have specific requirements, and following the manufacturer’s guidelines will ensure a proper installation. Here’s a general guide:
- Place a small amount of plumber’s putty or apply silicone caulk around the base of the faucet.
- Insert the faucet through the mounting holes in the sink.
- Secure the faucet with the provided nuts from underneath using a basin wrench or adjustable wrench. Ensure the faucet is level and centered.
Step 7: Connect the Water Supply Lines
Once the new faucet is securely in place, it’s time to connect the water supply lines. Use teflon plumber’s tape on the threads of the faucet stems to prevent leaks. Connect the hot and cold water supply lines to the corresponding sides of the faucet, tightening them with an appropriately sized wrench.
Step 8: For Bathroom Faucets, Install the Drain Assembly
If your new faucet comes with a pop-up drain assembly, follow these steps:
- Apply plumber’s tape to the threads of the drain body.
- Insert the drain body into the drain hole in the sink.
- From underneath, secure the drain body with the provided nut.
- Connect the lift rod to the pivot rod and tighten the retaining nut.
Step 9: Check for Leaks
Before declaring the job complete, turn on the water supply and check for any leaks. Inspect all connections, including the water supply lines and the faucet base. If you notice any leaks, tighten the connections accordingly.
Step 10: Reassemble and Test
Once you’ve confirmed there are no leaks, reassemble any additional components you removed, such as the p-trap or access panels. Turn on the faucet and check for proper water flow and drainage. Ensure that the hot and cold water handles operate smoothly.
Step 11: Clean Up and Dispose of Old Faucet
Dispose of the old faucet responsibly. If it’s still in good condition, consider donating it. Otherwise, please take it to your local recycling center or follow your community’s guidelines for proper disposal.
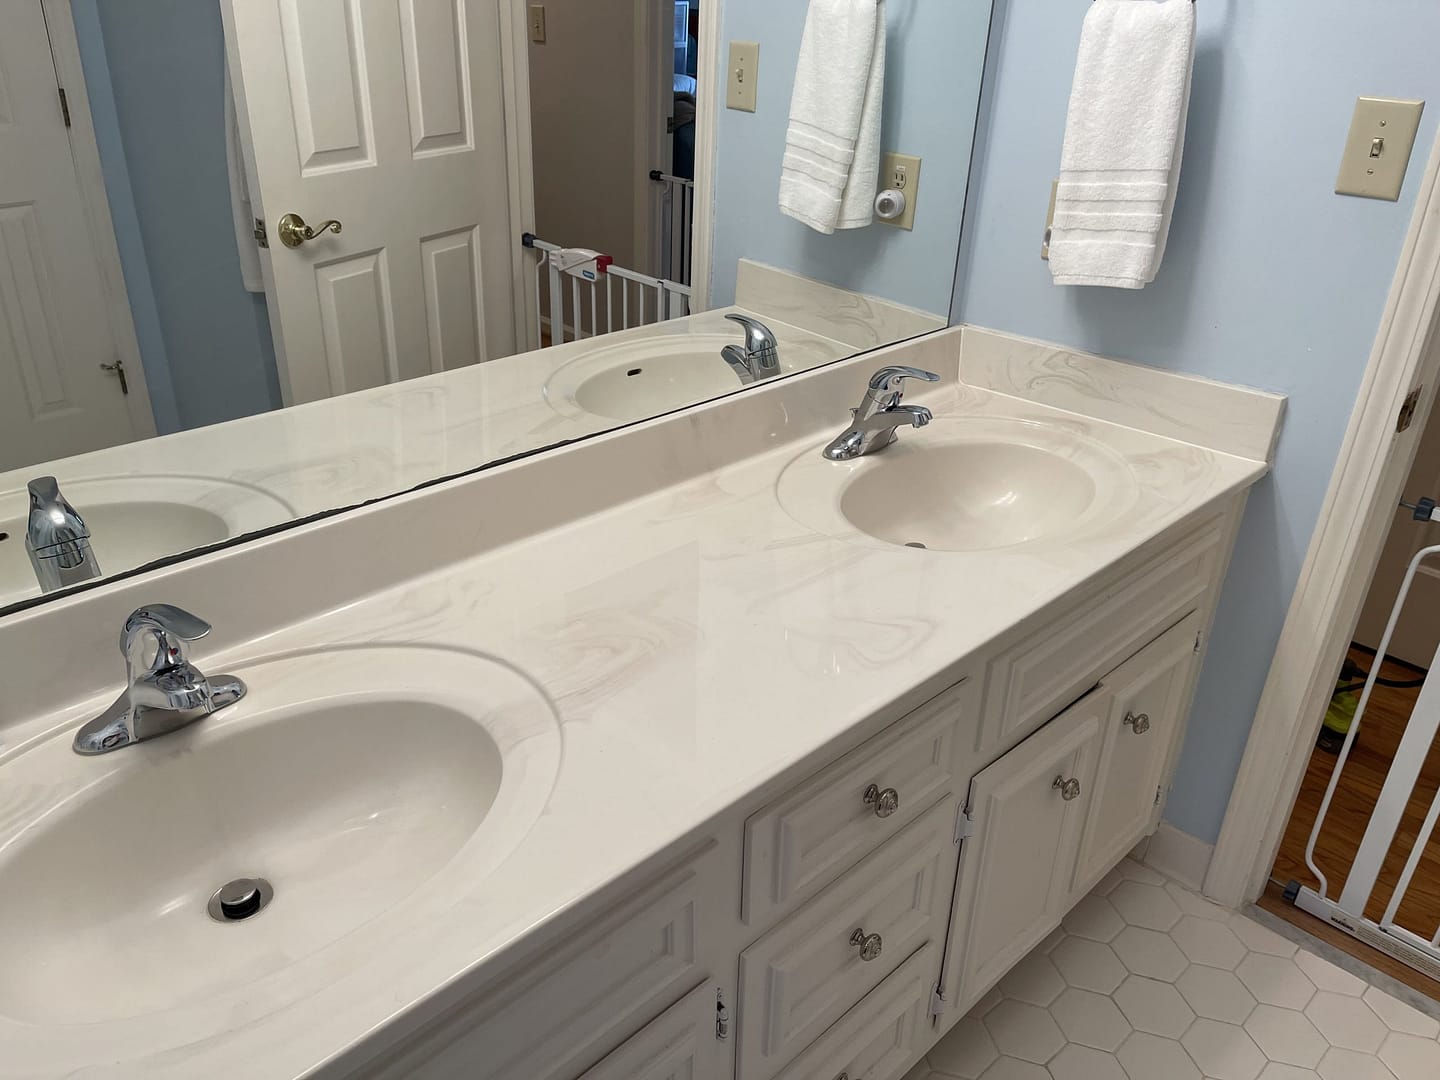
Step 12: Celebrate Your DIY Accomplishment and Enjoy Your Newly Installed Faucet!
Replacing a faucet may seem daunting, but it can be a satisfying DIY project with the right tools, materials, and a systematic approach. By following the steps outlined in this comprehensive guide, you can upgrade the look of your bathroom or kitchen. Remember to prioritize safety, follow manufacturer instructions, and take your time to ensure a successful and leak-free installation.
Why Hire a Local Handyman to Replace a Faucet?
While replacing a faucet can be a manageable DIY project for those with some plumbing skills, there are several reasons why hiring The Crafty Canuck Handyman Service might be a practical choice:
Expertise and Experience
- Knowledgeable Professional: The Crafty Canuck Handyman has experience with various household repairs, including plumbing, and brings a level of expertise that can ensure the installation is done correctly the first time.
- Problem-Solving Skills: If unexpected issues arise during the installation, The Crafty Canuck Handyman’s experience enables quick troubleshooting to assess the situation and efficiently address challenges quickly.
Time Savings

- Efficient Work: Having replaced many faucets, The Crafty Canuck Handyman’s familiarity with the process and tools can significantly reduce the time required for the job and will likely complete the faucet replacement faster than someone attempting it for the first time.
- Convenience: Hiring a local handyman lets you focus on other tasks or activities while the professional handles the faucet replacement. This is particularly beneficial for individuals with busy schedules.
Quality Workmanship
- Professional Finish: A handyman is skilled in providing a polished and professional finish to the installation. This includes ensuring the faucet is level, the connections are secure, and there are no visible signs of an amateur installation.
- Minimized Risk of Errors: Professional handymen are less likely to make mistakes or overlook crucial steps in the installation process. This can prevent issues such as leaks or uneven installations.
Tools and Equipment
- Proper Tools: The Crafty Canuck Handyman arrives equipped with various tools specifically designed for plumbing and household repairs, ensuring that the job is done efficiently and with the right equipment.
- Avoiding Additional Expenses: If you don’t own the necessary tools, purchasing them for a one-time DIY project can be more expensive than hiring a local handyman.
Warranty and Guarantees
- Work Guarantees: The Crafty Canuck Handyman provides a hassle-free guarantee. If any issues arise after the installation, the problem will be addressed at no additional cost, providing peace of mind for homeowners.
- Product Warranty Compliance: Some faucet manufacturers require professional installation to maintain the warranty. Hiring a local handyman ensures that the installation meets these requirements.
Preventing Further Damage
- Identifying Issues: A handyman can identify potential issues beyond the faucet itself, such as water damage, leaks, or problems with the plumbing connections. Addressing these issues during the installation can prevent more significant problems in the future.
Safety Considerations
Avoiding Hazards: Plumbing work involves dealing with water and, in some cases, electrical components. A local handyman is trained to navigate potential hazards and safely handle the installation.
While DIY projects can be rewarding, hiring The Crafty Canuck Handyman Service for a faucet replacement offers a combination of expertise, efficiency, and convenience that can outweigh the benefits of doing it yourself, especially for those with limited plumbing experience. It’s a wise choice for those who want professional results and value their time, convenience, and peace of mind.